Sharing photo albums on Myspace or Facebook feels like a distant memory now, but it used to be all the hype back then… way back then. This isn’t a history lesson but rather a story of adaptation.
Now, video content has definitely pushed back static images and photos, but who’s to say you can’t effortlessly make videos from images and enjoy sharing them to a new medium, be it video-centric platforms like YouTube or TikTok? Stick around and find out how you can turn images into video and create scroll-stopping cinematic masterpieces.
Why Would I Need to Convert Images to Videos?

Capturing and sharing unforgettable moments and memories doesn’t always have to happen in a video format. Think of a year-in-review clip that utilizes one pic for each and every day that has passed: 365 seconds, making for a stunning collage.
Think of your graduation pictures beautifully lined up in a nostalgic slideshow; the same goes for every wholesome “growing up” montage that takes you through baby pictures, your childhood memories, your teen years, and everything that followed.
There’s something poetic about still imagery slowly unfolding in front of us, and perhaps that’s why so many people choose to turn images into videos. It’s almost like we’ve got a little bit of power over time, and in some ways we do.
You control the pacing, you set the mood, and you awaken emotion, and that’s the beauty of a video montage of pictures. You can create a multi-sensory experience by pairing audio and video to evoke emotion.
Whether it’s a hilarious and hard-to-resist laughter track for comedic moments or a wholesome classical music symphony to really bring out the nostalgia, the perfect song fit will always take any visual production to the next level.
The Right Tool to Turn Images Into Video
It’s all good fun until you’re sat in front of your computer with a folder of 20 images and no idea where to start from.
So, if you’re out there browsing for a tool that’s going to help you convert JPG to video, PNG to video, or even a GIF into video, look no further and meet your new best friend: Flixier.
You can convert images to videos and edit them just like a professional without actually needing the experience of a video editing aficionado.
Your computer specifications aren’t a deal breaker since Flixier is an entirely online tool that runs directly in your browser and does not require any downloads and installs, software updates, or other shenanigans.
Embrace speed and accuracy no matter if you’re working on an old Chromebook or the latest Macbook model, thanks to advanced cloud technologies. Preview edits in real time and make the most out of an intuitive interface that’s so easy to use you won’t even need instructions.
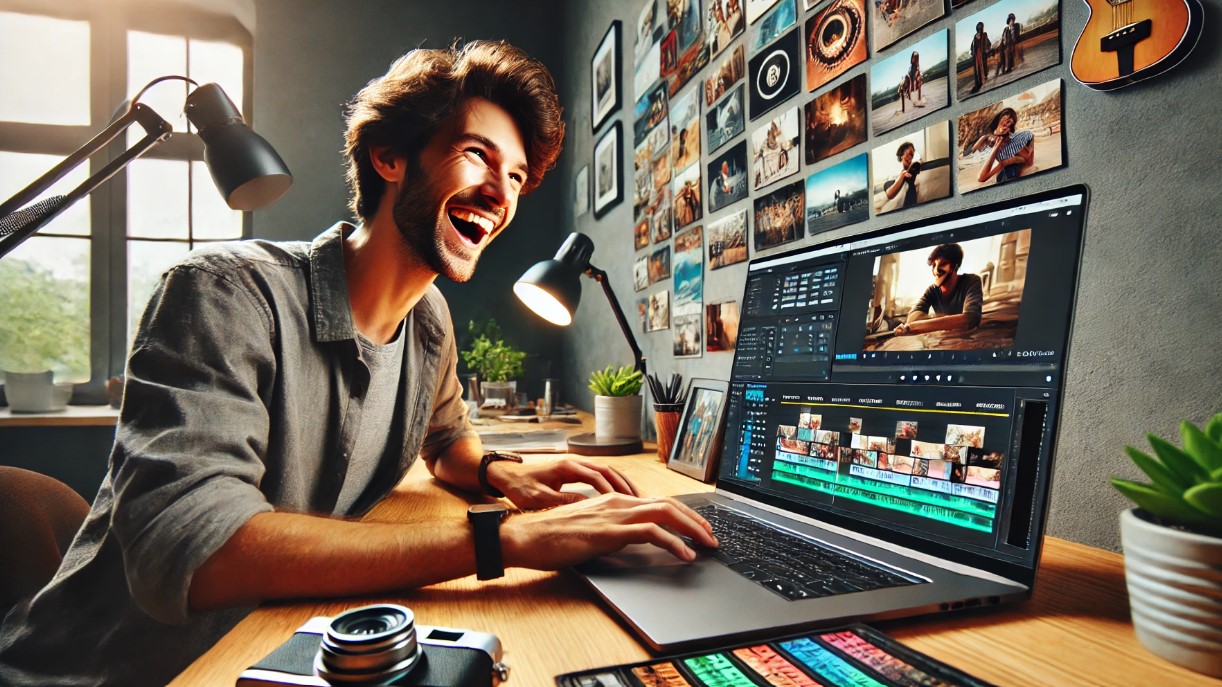
Convert Images to Videos Like a Pro: an Easy-to-follow Tutorial
Step 1: Open Flixier and Import Images
To turn images into video you’ll need to go to flixier.com and tap the Start Editing button, then click Import.
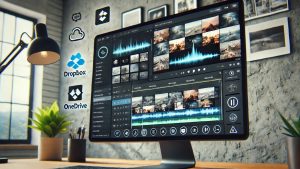
The best thing about Flixier is that you can bring over files directly from your computer or smartphone by scanning a QR code, or you can connect your Dropbox, OneDrive, or Google Drive accounts and effortlessly fetch images.
Step 2: Arrange Your Images and Give Them a Nice Look
Who would have thought it was as simple as drag and drop? Simply bring your imported images to the timeline and arrange them in any order you’d like.
You can adjust how long any image stays on-screen for by hovering at its edge, then dragging it left and right. You can also experiment with vibrant Effects and colorful filters in the Color tab on the top-right side of the interface.
Step 3: Make it Dynamic
Now it’s time to get things moving by adding animations like floating, wiping, or spinning effects to your images to really make them pop.
You can also add smooth transitions, all from the same Image tab on the top right of the screen. Check out the real-time previews and choose your favorite!
Step 4: Add a Message
Say it in writing by going to the Text tab on the left side of the interface. Choose from over 1000 font families and experiment with different colors and text placements that you can even animate!
Step 5: Make it a Multi-sensory Experience

Add the perfect background song or record a heartfelt voiceover to go along with your video slideshow or collage. You can also automatically generate an AI voice-over to narrate, and it all starts with the Import button, where you either choose the Record voice or Text-to-speech feature. To add music, click the Audio tab on the left side of the screen and look for a fitting tune.
Step 6: Export and Share on Socials
Once you’re satisfied with your edits, it’s showtime! Tap the blue Export button, then give your project a name and select the Video export format from the dropdown menu. You can also check other boxes and automatically publish your video on your YouTube channel, to your TikTok account or to your Facebook feed.